

How to setup GatsbyJS starter with Typescript, ESLint, Prettie


Original post Here - with images 😅
In Short
- Fork, clone and install the Gatsby default starter
- Install
gatsby-plugin-typescriptandTypeScript - Configure
tsconfig.jsonandtype-check script - Converting files to TypeScript
- Setting up
ESLint&Prettier - Setting up VSC
1. Clone and install the Gatsby default starter
So yes just fork the Gatsby default starter to your own Github account and clone it to your local machine from there.
- Go to https://github.com/gatsbyjs/gatsby-starter-default
- Clone the repository to your local machine with
git clone git@github.com:gatsbyjs/gatsby-starter-default.git cdinto the folder- Run
npm install - Run
npm run develop
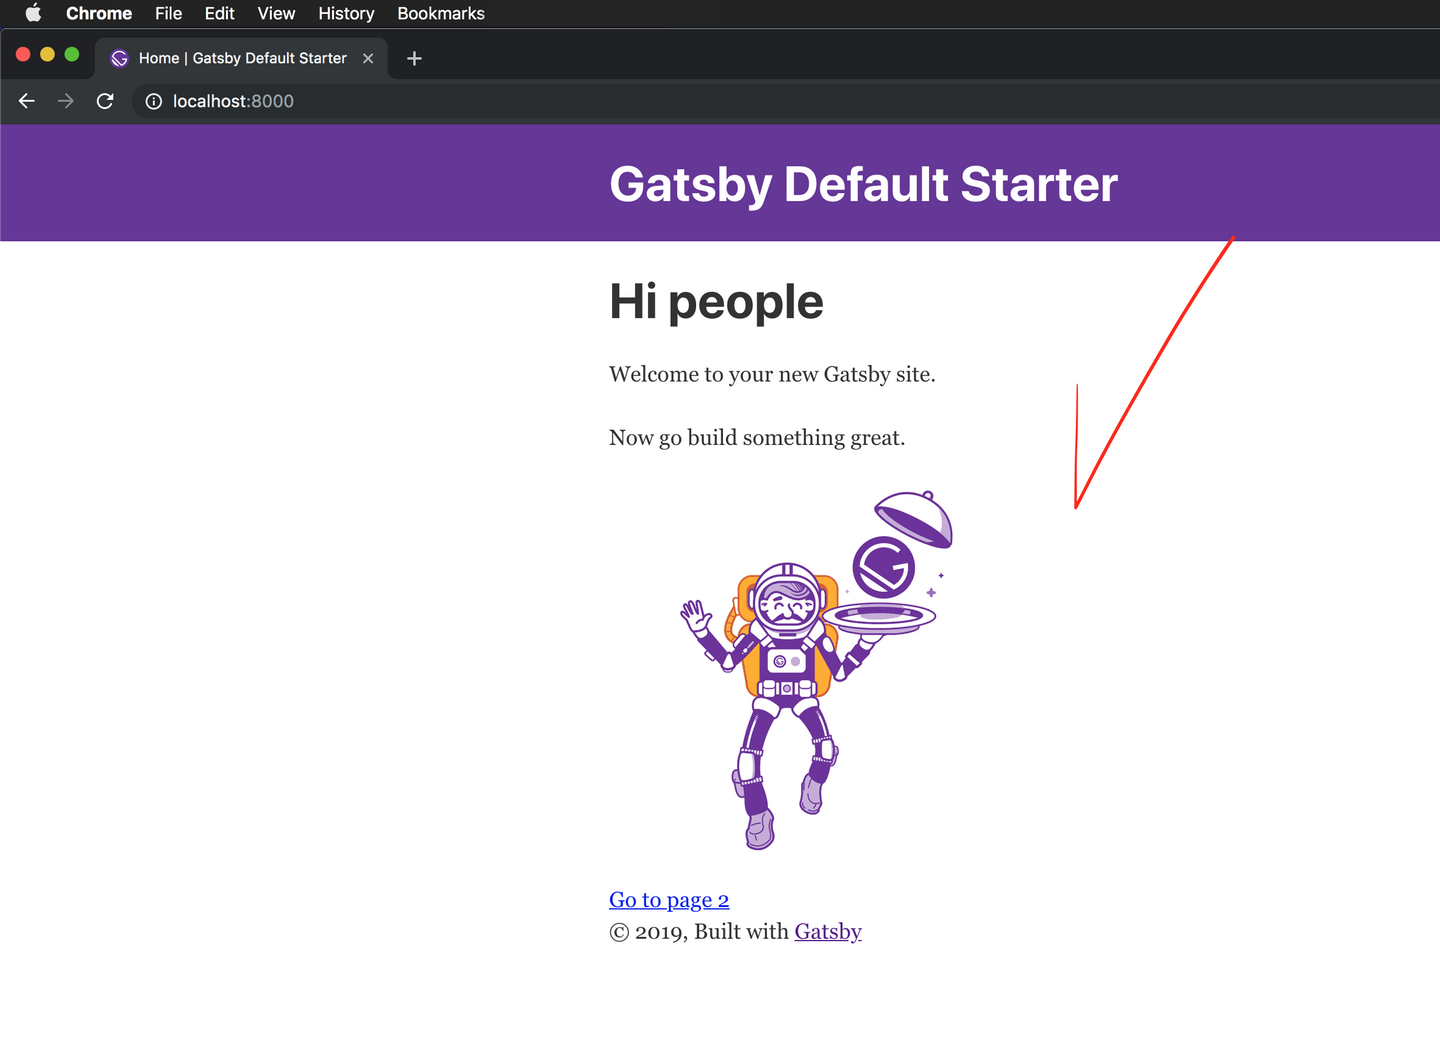
And you are done with setting you your Gatsby starter and it's running , on http://localhost:8000/ and we can start to set-up TypeScript now!
2. Install TypeScript & gatsby-plugin-typescript and
TypeScript can be added to the devDependencies whilst Gatsby plugins should be added as a dependency:
npm install gatsby-plugin-typescript & npm install typescript --save-dev
And we need to enable the plugin gatsby-plugin-typescript in the gatsby-config.js file in the root of your project.
3. Add and configure tsconfig.json
Our config file should look something like this:
{
  "compilerOptions": {
    "module": "commonjs",
    "target": "esnext",
    "jsx": "preserve",
    "lib": ["dom", "esnext"],
    "strict": true,
    "noEmit": true,
    "isolatedModules": true,
    "esModuleInterop": true,
    "noUnusedLocals": false
  },
  "exclude": ["node_modules", "public", ".cache"]
}
4. Converting files to TypeScript
Start renaming *.js files to *.ts and *.tsx (if they contain JSX).
We will need fixing the current type errors that TypeScript is screaming at us. I’m leaving the actual fixing of these errors for the follow-up blog post. For now, please bear with me as we set-up a linter.
5. Setting up ESLint and Prettier
To set up ESLint with TypeScript, Prettier and some React best practices, we’ll need to add a bunch of devDependencies:
npm install eslint @typescript-eslint/eslint-plugin @typescript-eslint/parser eslint-config-prettier eslint-plugin-prettier eslint-plugin-react --save-dev
And after all packages are installed, let's add a .eslintrc.js file in the root of the project. Example of ESLint configuration:
module.exports = {
  parser: '@typescript-eslint/parser', // Specifies the ESLint parser
  extends: [
    'eslint:recommended',
    'plugin:react/recommended',
    'plugin:@typescript-eslint/recommended',
    'prettier/@typescript-eslint',
    'plugin:prettier/recommended'
  ],
  settings: {
    react: {
      version: 'detect'
    }
  },
  env: {
    browser: true,
    node: true,
    es6: true
  },
  plugins: ['@typescript-eslint', 'react'],
  parserOptions: {
    ecmaFeatures: {
      jsx: true
    },
    ecmaVersion: 2018, // Allows for the parsing of modern ECMAScript features
    sourceType: 'module' // Allows for the use of imports
  },
  rules: {
    'react/prop-types': 'off', // Disable prop-types as we use TypeScript for type checking
    '@typescript-eslint/explicit-function-return-type': 'off'
  },
  overrides: [
    // Override some TypeScript rules just for .js files
    {
      files: ['*.js'],
      rules: {
        '@typescript-eslint/no-var-requires': 'off' //
      }
    }
  ]
};
Adding Lint Scripts
To make life easier on ourselves we’ll add two lint scripts to our package.json
"scripts": {
  ...
  "lint": "eslint --ignore-path .gitignore . --ext ts --ext tsx --ext js --ext jsx",
}
Once called it will run on every `.ts,.js,.tsx and .jsx` file and shows you the errors.
6. Setting up the editor
Add this
"eslint.validate": [
    {
      "language": "javascript",
      "autoFix": true
    },
    {
      "language": "javascriptreact",
      "autoFix": true
    },
    {
      "language": "typescript",
      "autoFix": true
    },
    {
      "language": "typescriptreact",
      "autoFix": true
    }
  ],
To your general settings.json
We also need to install type definitions for our packages but I will leave that for you, just google it and you will get the general idea.
I hope that this post gave you a basic idea on how to do the initial setup of GatsbyJS + Typescript + ESLint + Prettier